Illustrator矢量绘图:设计一个色彩斑澜的U盘(15)
来源:互联网 作者:未知 发布时间:2011-03-24 10:18:14 网友评论 0 条
Step 23
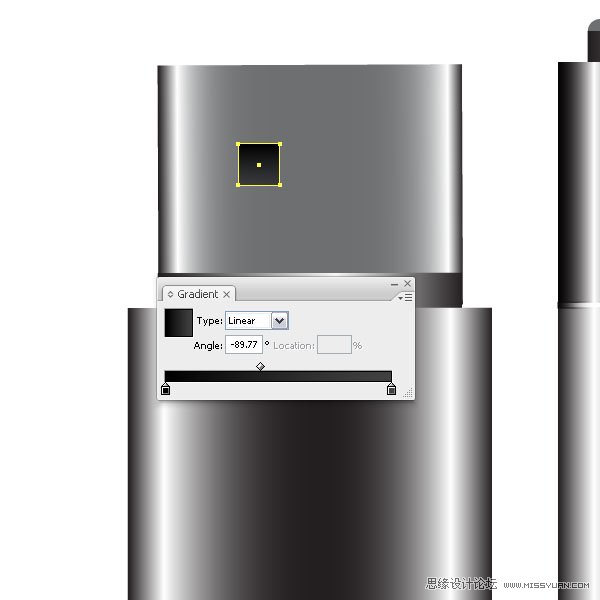
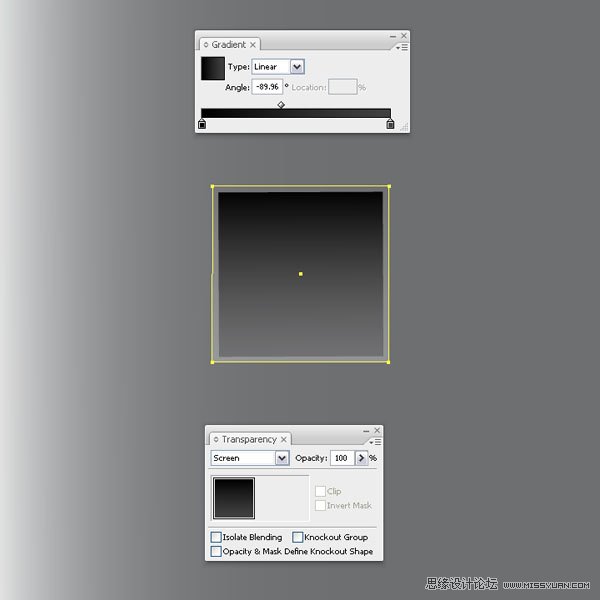
Zoom into the tip part and create a small square and fill it with a linear dark gray gradient. Duplicate it on top (Command + C +F) and scale it (E) slightly bigger than the original. Set the Layer Mode to Screen. This will give us an optical illusion that the tip has a metal cutout. Select both and copy them for the right side. Then create two small squares with a dark linear gradient and place them underneath the others.
23. 放大U盘的上半部,绘制一个小正方形,填充深灰色线性渐变。然后在它上面复制一个(Ctrl+C,Ctrl+F),使用自由变换工具(E),使它比原大小大一点。图层混合模式设置为滤色,这就使得U盘上小孔的底部有一种金属剪影的错觉感。同时选择这2个形状,然后复制它们,然后移到右边。然后绘制2个更小的正方形,填充深灰的线性渐变,然后把它们放在另2个正方形的下面。
- 2009-10-14
- 2009-10-14
- 2009-10-14
- 2009-10-14
- 2009-10-14
- 2009-10-14
- 2009-10-14
- 2009-10-14
- 2009-10-14
- 2009-10-14
- 2009-10-14
- 2009-10-14
- 2009-10-14
- 2009-10-14
- 2009-10-14
关于我们 | 联系方式 | 广告服务 | 免责条款 | 内容合作 | 图书投稿 | 招聘职位 | About CG Time
Copyright © 2008 CGTime.org Inc. All Rights Reserved. CG时代 版权所有