Illustrator矢量绘图:设计一个色彩斑澜的U盘(8)
来源:互联网 作者:未知 发布时间:2011-03-24 10:18:14 网友评论 0 条
Step 14
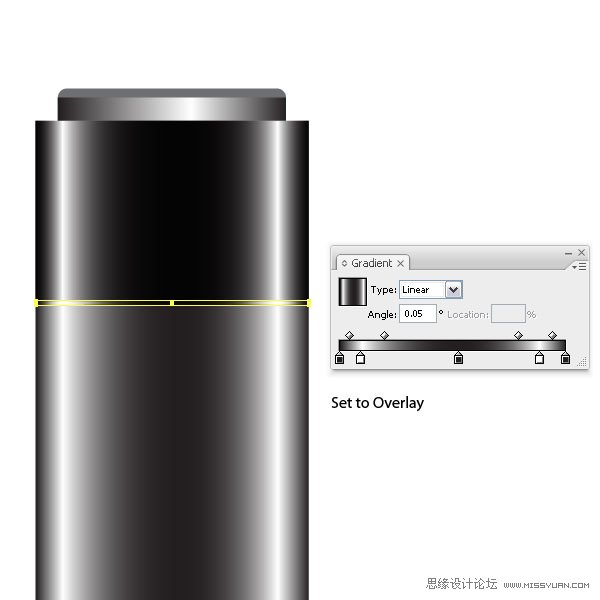
Make a copy of the cap we created in Step 9 and change the height to 1.5pt via the Transform Palette. Keep the gradient, but add a Stroke of 0.25pt in dark gray to it. Set the Layer Mode to Overlay and place it just below the cap shape.
14. 制作一个我们在第9步绘制的盖子的副本,然后切到变换调板,更改高度为1.5pt。渐变保持不变,然后描边颜色设置为深灰色,描边宽度设置为0.25pt。图层混合模式设置为“叠加”,然后把它移到盖子形状的下面。

- 2009-10-14
- 2009-10-14
- 2009-10-14
- 2009-10-14
- 2009-10-14
- 2009-10-14
- 2009-10-14
- 2009-10-14
- 2009-10-14
- 2009-10-14
- 2009-10-14
- 2009-10-14
- 2009-10-14
- 2009-10-14
- 2009-10-14
关于我们 | 联系方式 | 广告服务 | 免责条款 | 内容合作 | 图书投稿 | 招聘职位 | About CG Time
Copyright © 2008 CGTime.org Inc. All Rights Reserved. CG时代 版权所有