Illustrator矢量绘图:设计一个色彩斑澜的U盘(9)
来源:互联网 作者:未知 发布时间:2011-03-24 10:18:14 网友评论 0 条
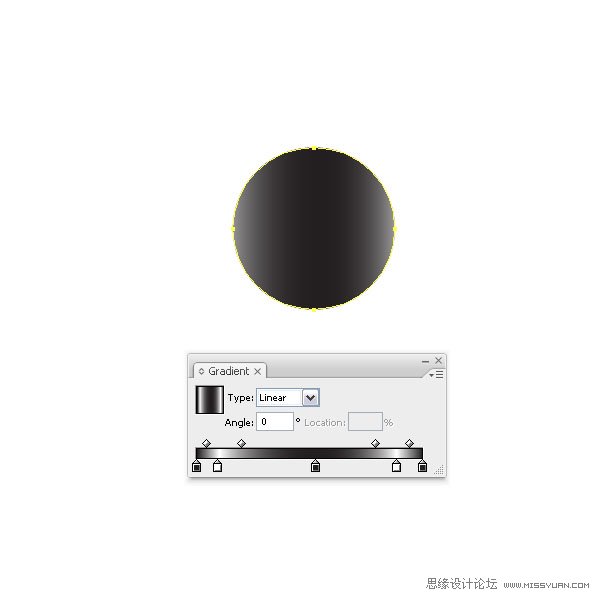
Step 15
Create a small circle and fill it with the same gradient as the cap shape. Duplicate it and fill it with a pink, or whatever color you prefer. This is not a Global Color, as I don’t want it to change later on. Set the Layer Mode to Overlay at 68%.
15. 绘制一个小圆,填充和盖子形状一样的渐变。然后复制它,填充粉色,或者其它你喜欢的颜色。这里的粉色不是全局色,因为在之后我不会再去更改颜色了。然后图层混合模式设置为“叠加”,透明度:68%。
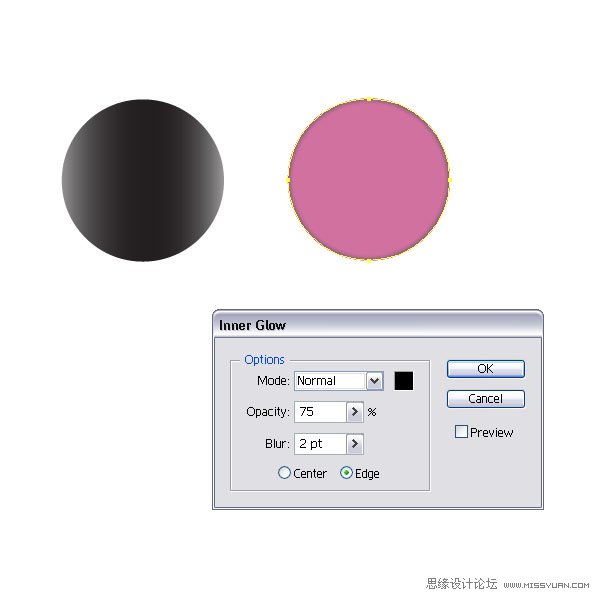
Step 16
With the pink circle still selected, go to Effect > Stylized > Inner Glow and set: the Mode to Normal, Opacity to 75%, a Blur of 2pt, and the color set to black. Also, center both circles.
16. 粉色的圆仍是选中状态,然后执行效果菜单>风格化>内发光,设置混合模式为“正常”,透明度:75%,模糊:2pt,颜色设置为黑色。然后将这2个圆居中对齐。
- 2009-10-14
- 2009-10-14
- 2009-10-14
- 2009-10-14
- 2009-10-14
- 2009-10-14
- 2009-10-14
- 2009-10-14
- 2009-10-14
- 2009-10-14
- 2009-10-14
- 2009-10-14
- 2009-10-14
- 2009-10-14
- 2009-10-14
关于我们 | 联系方式 | 广告服务 | 免责条款 | 内容合作 | 图书投稿 | 招聘职位 | About CG Time
Copyright © 2008 CGTime.org Inc. All Rights Reserved. CG时代 版权所有