Photoshop教程:绘制逼真的油漆毛刷(19)
来源:互联网 作者:未知 发布时间:2011-05-25 10:52:34 网友评论 0 条
Step 34
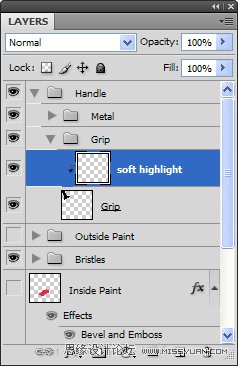
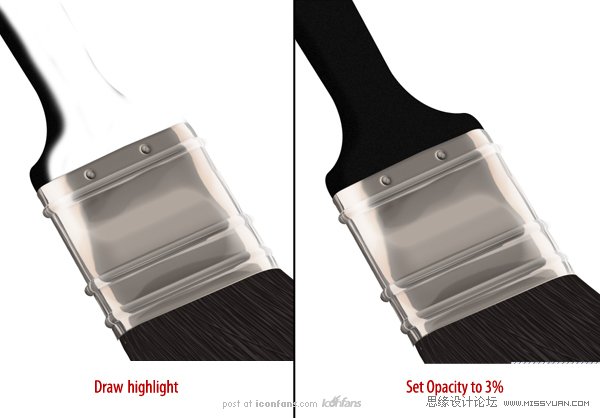
Now, we are going to start texturing the grip. We will do this witha series of clipping layers. Create a new clipping layer to the “Grip” layerand, using a soft brush, paint a portion of it white (see image below). Setthis layer’s opacity to 3%.
现在我们将开始把手的纹理结构,我们将用一系列的剪切图层来完成这个。新建一个剪切层到“Gip”组,用一个软刷,描绘出白色部分(如图)。设置这个图层的不透明度为3%。
Step 35
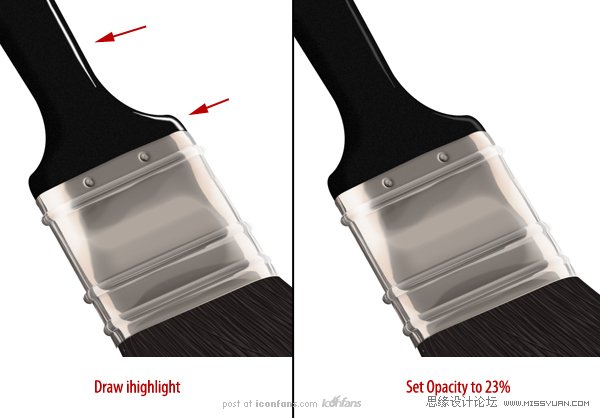
On a new clipping layer, draw a thinner highlight on the grip.Change the opacity to 23%. Open the Layer Styles and adjust the layer’s BlendIf sliders as shown (this will break up the highlight so it doesn’t appearunnaturally smooth).
在一个新的剪切层上,在把手上绘制一条薄的高光。将不透明度改为23%。打开图层样式,调节“混合颜色带“滑标如图所示。(这样可以打破高光,因此不会出现不自然的平滑)
- 2009-10-19
- 2009-10-19
- 2009-10-19
- 2009-10-19
- 2009-10-19
- 2009-10-19
- 2009-10-19
- 2009-10-19
- 2009-10-19
- 2009-11-22
- 2009-10-19
- 2009-11-24
- 2009-10-19
- 2009-10-19
- 2009-10-19
关于我们 | 联系方式 | 广告服务 | 免责条款 | 内容合作 | 图书投稿 | 招聘职位 | About CG Time
Copyright © 2008 CGTime.org Inc. All Rights Reserved. CG时代 版权所有