Photoshop教程:绘制逼真的油漆毛刷(22)
来源:互联网 作者:未知 发布时间:2011-05-25 10:52:34 网友评论 0 条
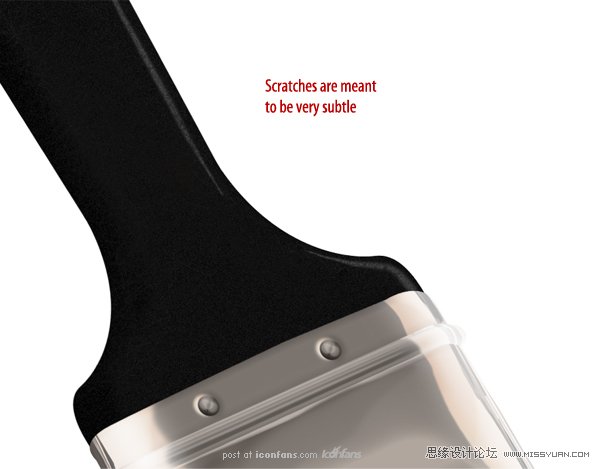
Step 39
Create another clipping layer and add a few more scratches, thistime in white. Adjust the opacity of both layers so the scratches are barelyvisible (darker monitors might have trouble picking this up). Your image shouldresemble the following:
创建另一个剪切层和添加一些划痕,这一次为白色。调节两个图层的不透明度,使划痕不是很明显(深色的显示器用这个方法可能比较麻烦).你的图应该类似如图所示:
划痕看起来是很精细,轻薄的。
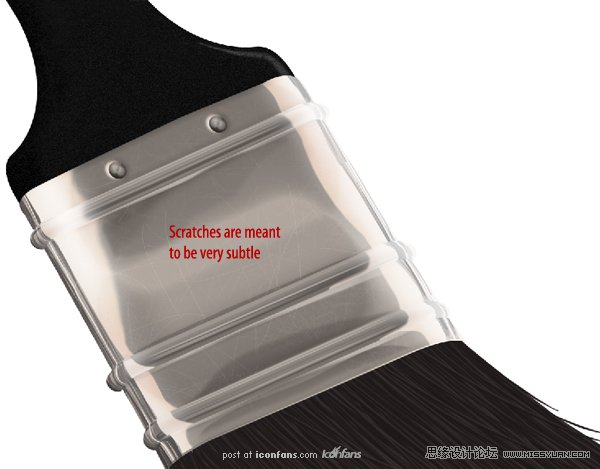
Step 40
As an optional step, you can go in to the “Metal Band” layer and usethe same scratches brush to add scratches to the metal.
作为一个可选择的步骤,你可以去“Metal Band”图层,并用同样的手法在金属上添加一些划痕。
- 2009-10-19
- 2009-10-19
- 2009-10-19
- 2009-10-19
- 2009-10-19
- 2009-10-19
- 2009-10-19
- 2009-10-19
- 2009-10-19
- 2009-11-22
- 2009-10-19
- 2009-11-24
- 2009-10-19
- 2009-10-19
- 2009-10-19
关于我们 | 联系方式 | 广告服务 | 免责条款 | 内容合作 | 图书投稿 | 招聘职位 | About CG Time
Copyright © 2008 CGTime.org Inc. All Rights Reserved. CG时代 版权所有