Photoshop教程:绘制逼真的油漆毛刷(8)
来源:互联网 作者:未知 发布时间:2011-05-25 10:52:34 网友评论 0 条
Step 13
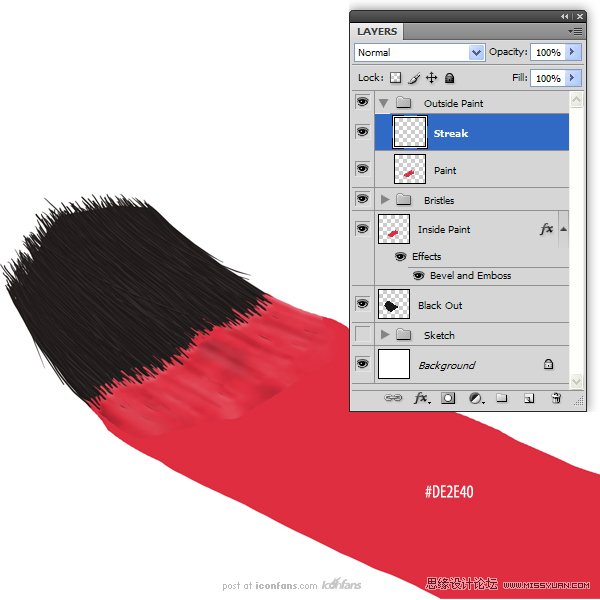
Next we are going to add thestreak of paint. Create a New Layer called “Streak.” Use the Brush Tool to adda streak of paint using the same color of paint that is on the bristles.
(接下来我们要添加油漆漆刷的条纹.新建一个名为“Streak”图层,用“画笔”工具增加一个条纹,颜色和刷毛颜色一样。)
Step 14
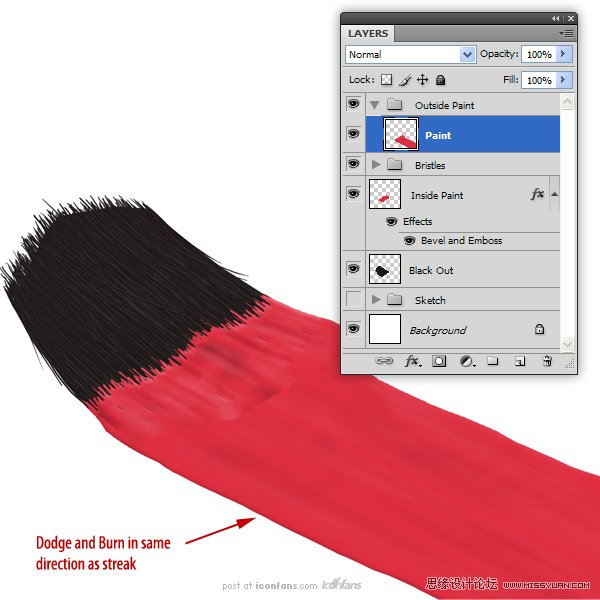
Use the Dodge and Burn Tools toadd some subtle variation to the streak. When you’re done, merge this layerwith the “Paint” layer. Rename the layer to “Paint.”
(用“减淡”和“加深”工具,在条纹上增加一些细微变化。当你完成了,和“Paint”图层一起合并。重命名为“Paint”.)
- 2009-10-19
- 2009-10-19
- 2009-10-19
- 2009-10-19
- 2009-10-19
- 2009-10-19
- 2009-10-19
- 2009-10-19
- 2009-10-19
- 2009-11-22
- 2009-10-19
- 2009-11-24
- 2009-10-19
- 2009-10-19
- 2009-10-19
关于我们 | 联系方式 | 广告服务 | 免责条款 | 内容合作 | 图书投稿 | 招聘职位 | About CG Time
Copyright © 2008 CGTime.org Inc. All Rights Reserved. CG时代 版权所有